
10 Creative spot the difference lesson ideas to use during your classes
 Chelsey Both —
I remember doing spot the difference exercises when I was still a little girl. Looking back, these were simple exercises, but this activity isn’t just for kindergartners thanks to a handy pop-up feature. The BookWidgets “Spot the difference” widget allows you to do so much more than just spotting the differences.
In this blog, I will tell you more about the purpose of a spot the difference activity and about the pop-up feature that will elevate a normal spot the difference exercises to a neat didactical lesson. AND I created 10 spot the difference lesson ideas for you to use in your classroom, for free. 💡 Make sure to read all the way through so you can learn to create a spot the difference game yourself in just a few minutes!
I will elaborate in the following parts of this post 👇
- What is a spot the difference activity?
- What is the purpose of a spot the difference activity?
- An extra feature in your spot the difference exercise
- 10 creative lesson ideas with spot the difference
- How to create a spot the difference widget?
Let’s get started! 👏
What is a spot the difference activity?
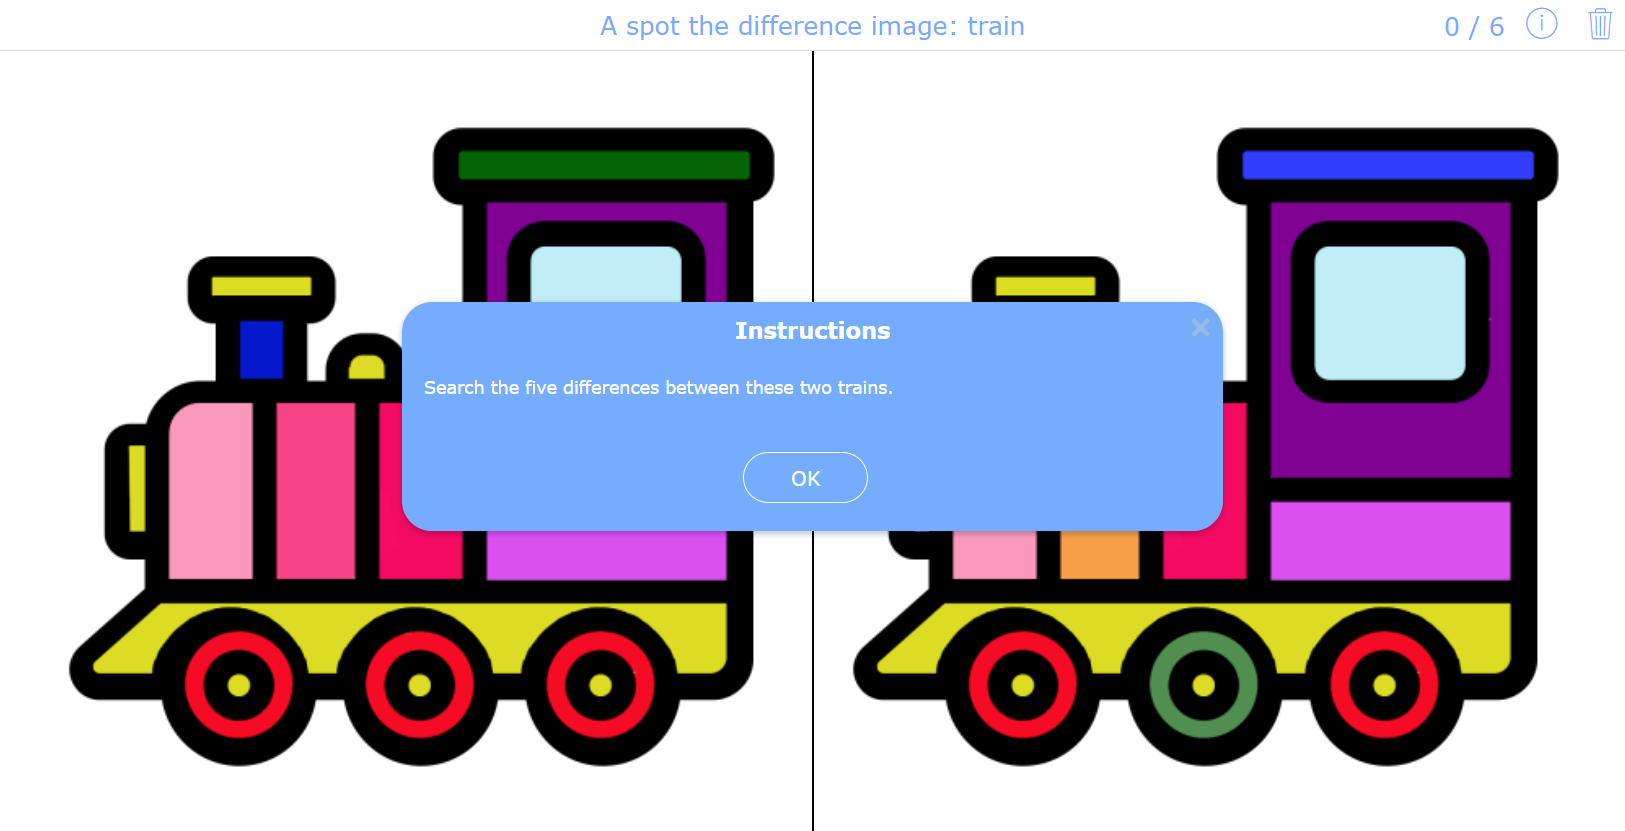
Spot the difference is an activity where you have to find a number of differences between two very similar images. Many of us used to play this fun activity when we were younger. It helped us to concentrate, think critically, problem solve, analyze, investigate, concentrate, and learn to notice details. You can read more about the purpose of this activity in the next paragraph.
We made this example of spot the difference easy so that everyone remembers what it was like in kindergarten. Can you spot all the differences? Give it a try!👇
What is the purpose of a spot the difference activity?
Spot the difference activities encourage you to use your powers of focus and concentration. With this BookWidgets game, children also increase their observation skills, and they’ll be able to learn new information. While playing spot the difference games, students can engage the 3 major areas in their brain. 🧠 And that’s also where dual coding comes in. Combining images with text like in a spot the difference activity is a very efficient learning strategy that activates your students’ brain and helps them remember the learning subject better.
An extra feature in your spot the difference exercise
If you’re looking for an extra level of learning, then I’m sure you want to know more about this spot the difference feature that will elevate your spot the difference activity from a learning game to a lesson. Not only can you indicate the differences, but also you can provide some extra information in a pop-up if they find the difference.
Are the differences you want to indicate not on the same level? Don’t worry, you can position the spots on each image independently. This way, you can show for example a spot on the left corner in image 1 and the right corner in image 2 without a problem. 🔍 There’s more. You don’t even have to place the same images with just small nuances next to each other. You can let students compare two entirely different images to point out the big differences between your topics.
10 creative lesson ideas with spot the difference
Are you looking for creative ways to use a spot the difference widget in your lessons? Hold tight! I’ve gathered 10 spot the difference lesson activities and divided them into 3 categories: Spot the difference activities for kindergarten, elementary school, and high school. You can find them all in this BookWidgets group. Make sure you already have an account or create a free account. This allows you to duplicate these lesson examples, adapt them to your content/language and share them with your students.
Spot the difference activities for kindergarten
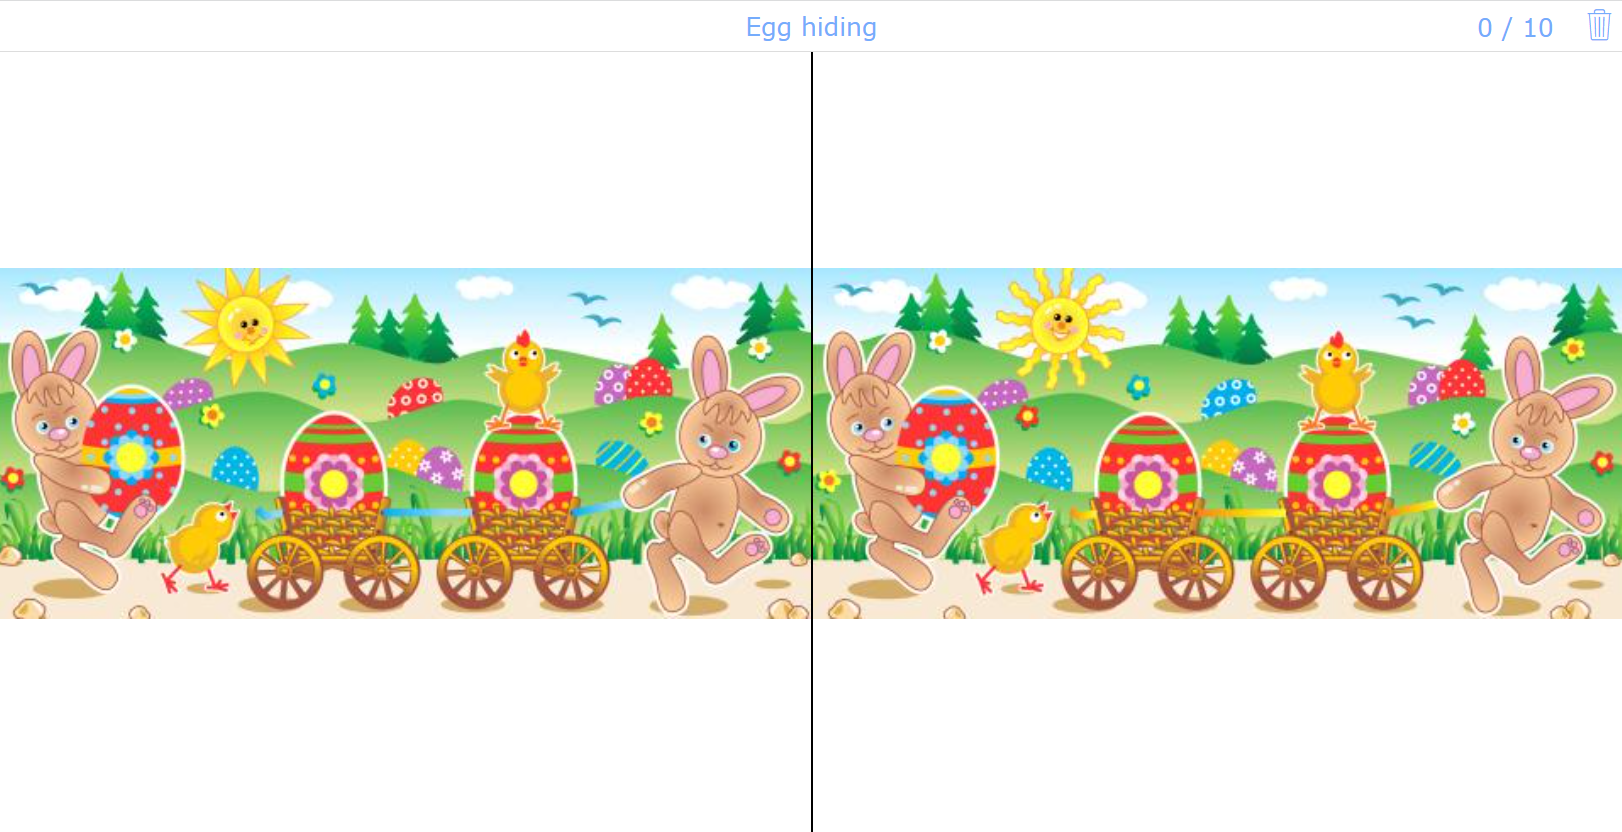
1. Celebrate a holiday
Create an activity based on a holiday. In this example, you can see a spot the difference widget that has been created for Easter. You can tell your students about this holiday and combine it with another activity like doing a real egg hunt. Or if they find a difference, you can give them a small reward.
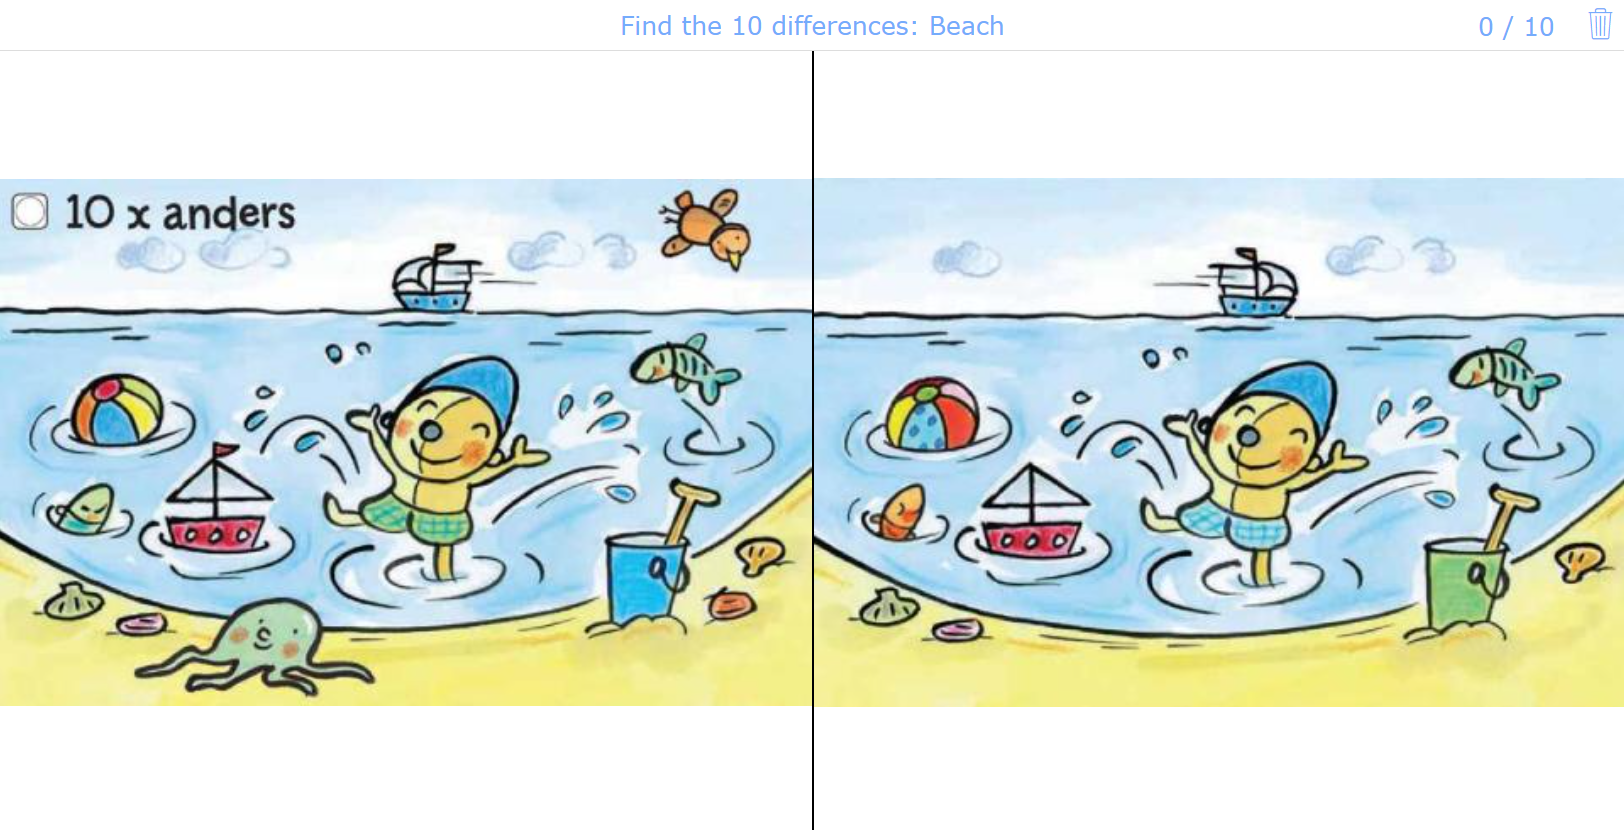
2. Talk about vacations
This spot the difference game is fun to do when your students return from a holiday or longer vacation. You can ask if they’ve been on vacation, if they want to share something about it, and afterward they can complete this widget. This doesn’t need to be about the beach, you can create this widget for any kind (type) of vacation, even a staycation!
This widget was created by Vicky Colman
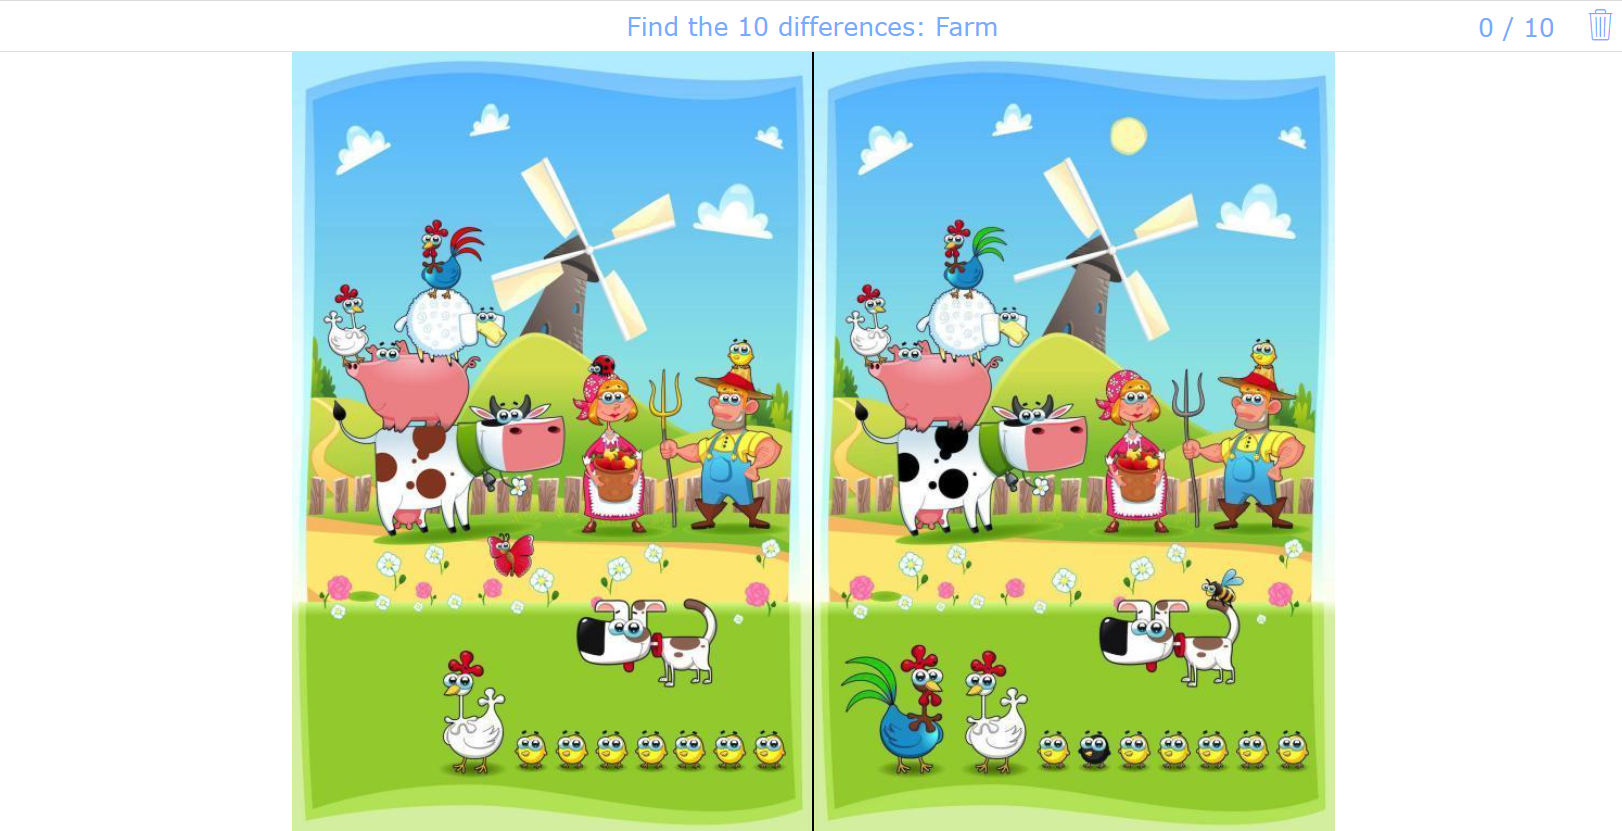
3. Learn more about the farm
Children love animals, so they will love this spot the difference idea! Let them search for the differences between these two pictures and in the meanwhile they learn to concentrate and improve attention to detail. In this example, we’ve also added the differences between the colors in the pop-ups. This makes this exercises perfect for primary school as well, when your students are learning to write the different colors.
Spot the difference activities for primary school students
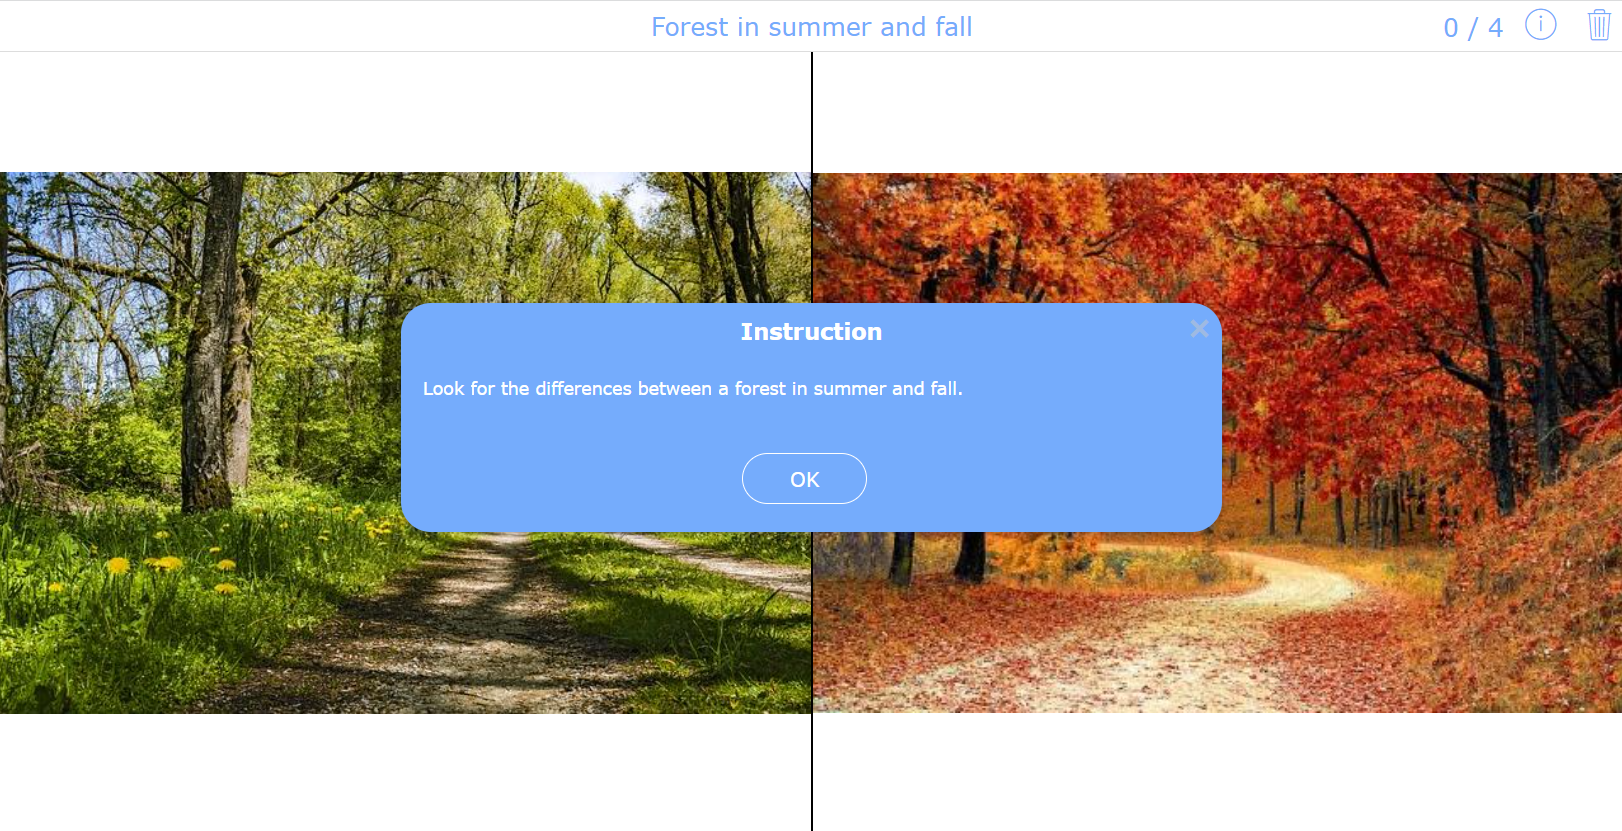
4. Explore the forest
Combine the spot the difference activity with a trip outside. In this example for primary school, students explore the forest in spring and fall by finding the differences. After they completed this activity you can go outside with your students and discuss what the forest looks like now.
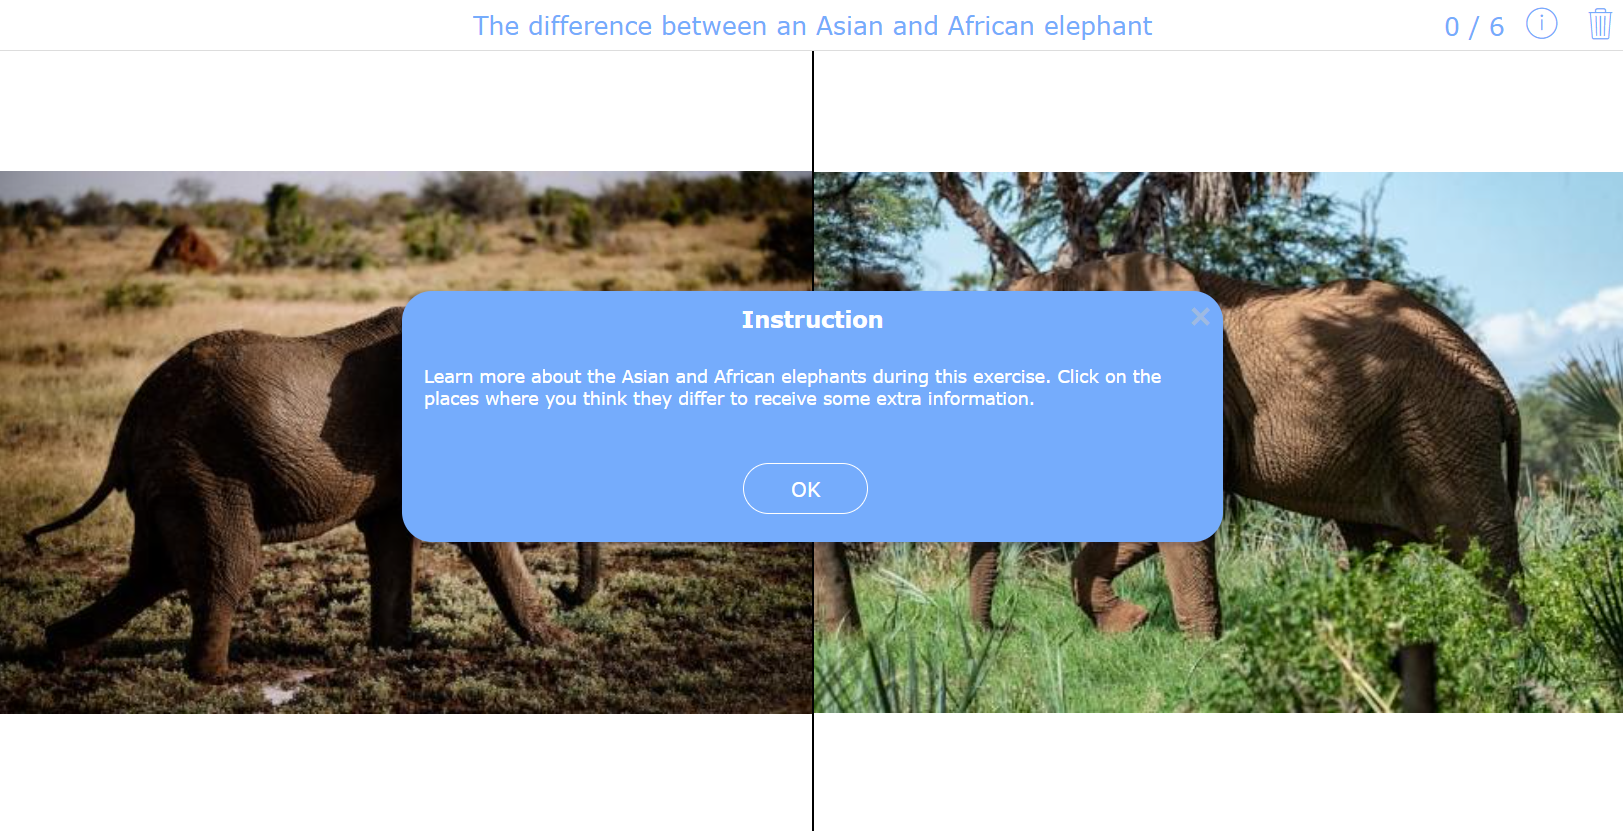
5. Recognize differences between animals
Spot the differences between animals in an creative way to tackle this subject. Let the students compare two pictures, if they find the differences between the animals, they will immediatly get more information about the differences. This can be a good resource for practicing, or a fun exit ticket to see if students understood your lesson and to give them another boost about the subject materials.
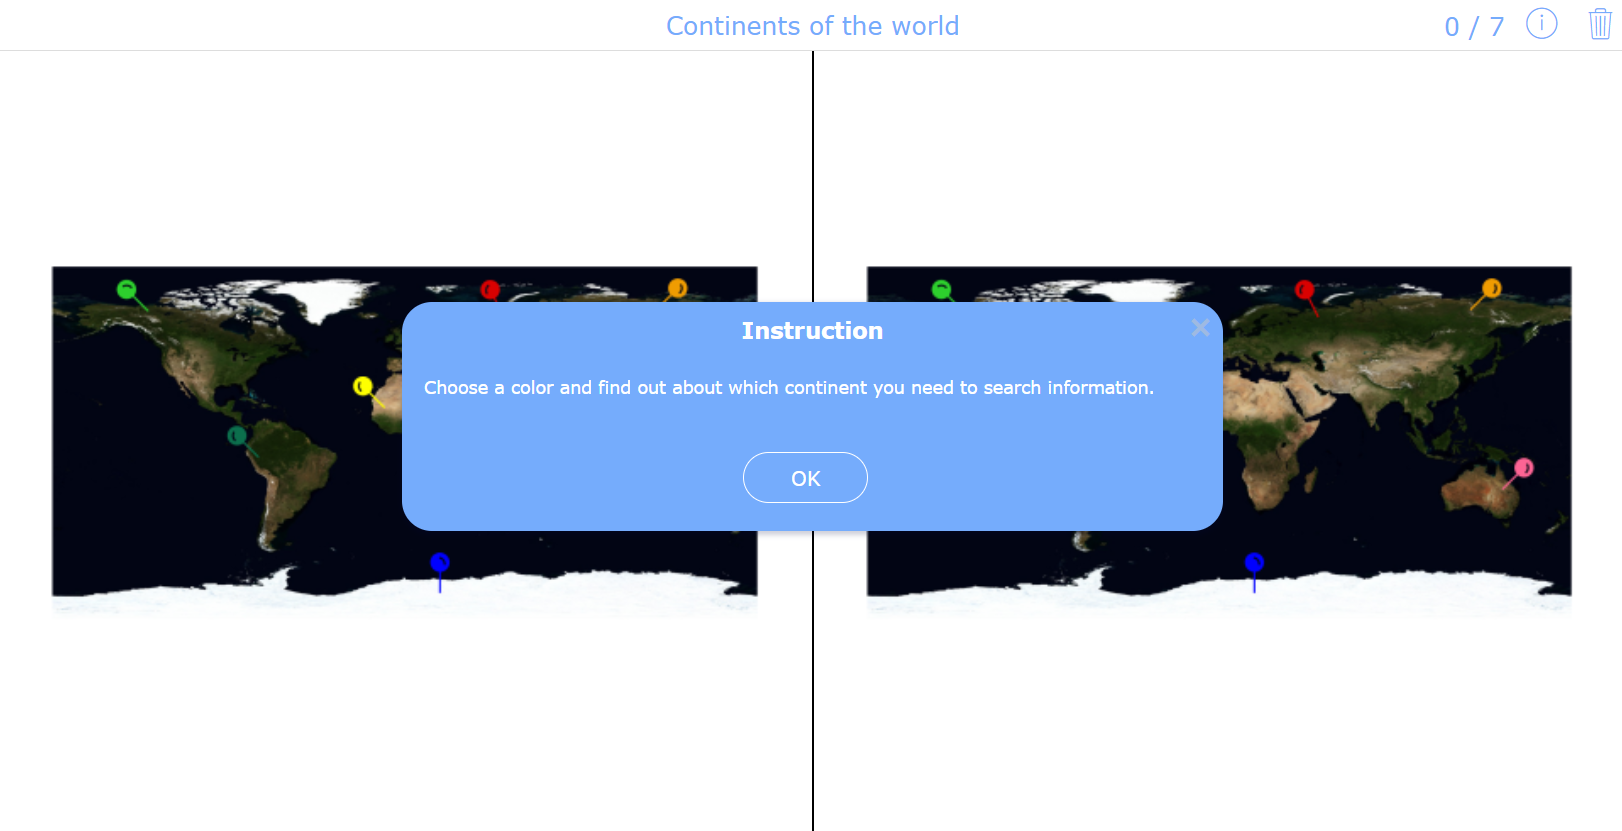
6. Discover the continents of the world
Here’s something different: use this game as a subject divider. Divide your students in 7 groups and let each group pick a color. Based on the color they pick, the will need to research and gather information to share with their classmates. They can work independently in groups and afterward each group can present their continent.
In this widget, I chose to use the pop up feature so that your students know what continent they chose after they picked a color.
Spot the difference activities for high school
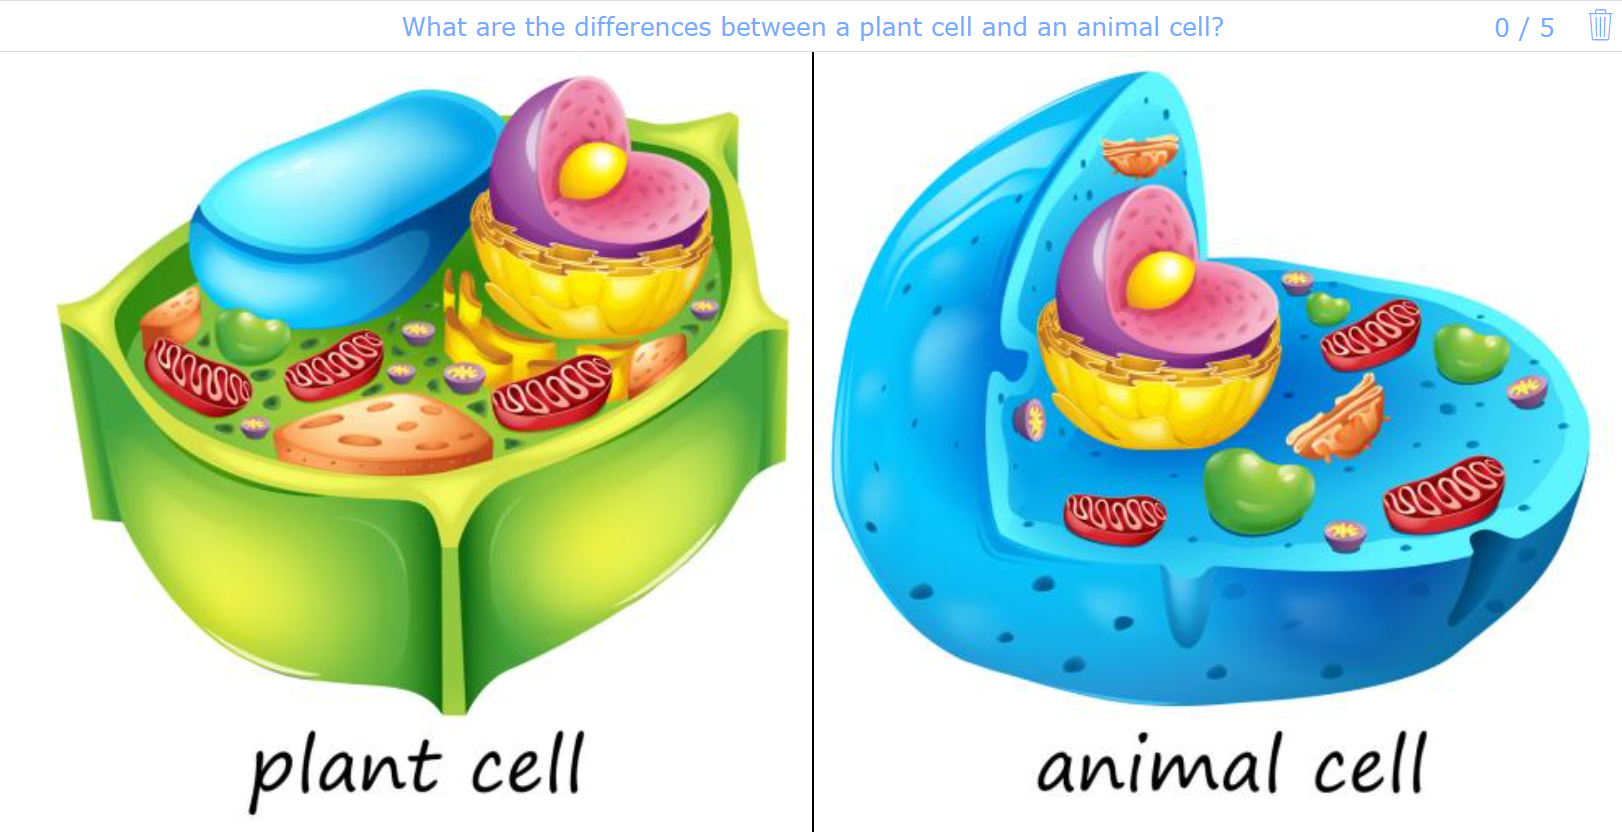
7. Bring structure to learning
When you’ve thaught a complicated concept as a part of a bigger lesson, you can use a spot the difference exercises to bring stucture to their learning. Let your students compare two pictures, for example a plant cell and an animal cell. The students can explore both cells and with the help of the pop-up, they will receive information again. This way, your students also know how to place different concepts next to each other within a larger lesson.
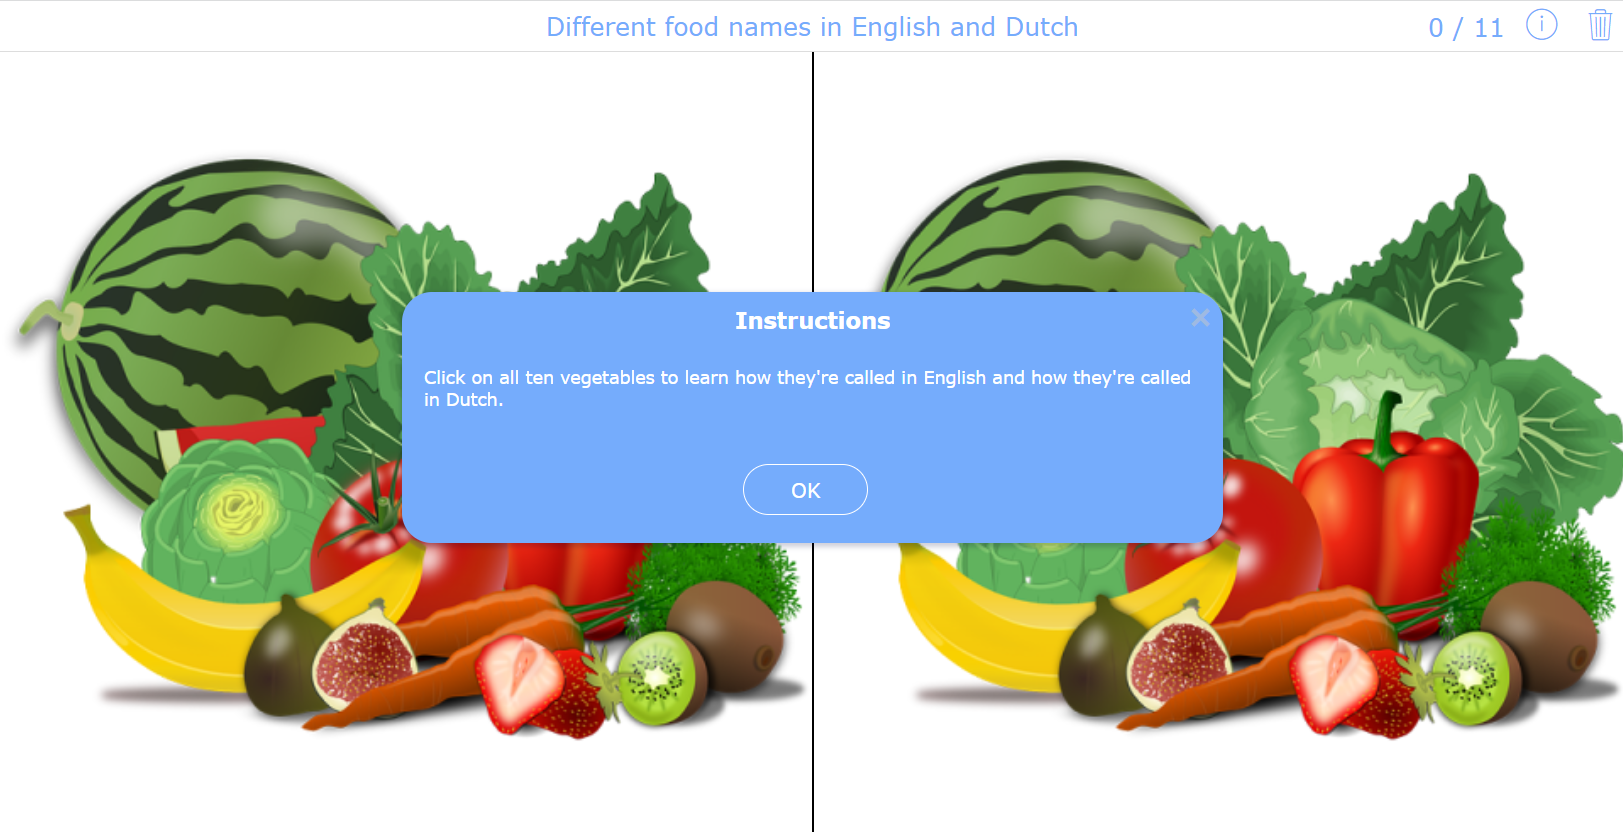
8. Teach new languages
Use a spot the difference activity to teach your students a new language. In this example, students find the English name of the food on one side, and on the other side they find the Dutch translation. This way students will remember the new words easier because they can build associations between the terms in both languages and the image. This might be an easy one, but you can make your spot the difference harder by adding more differences or by only providing one language so students have to search for the translation themselves.
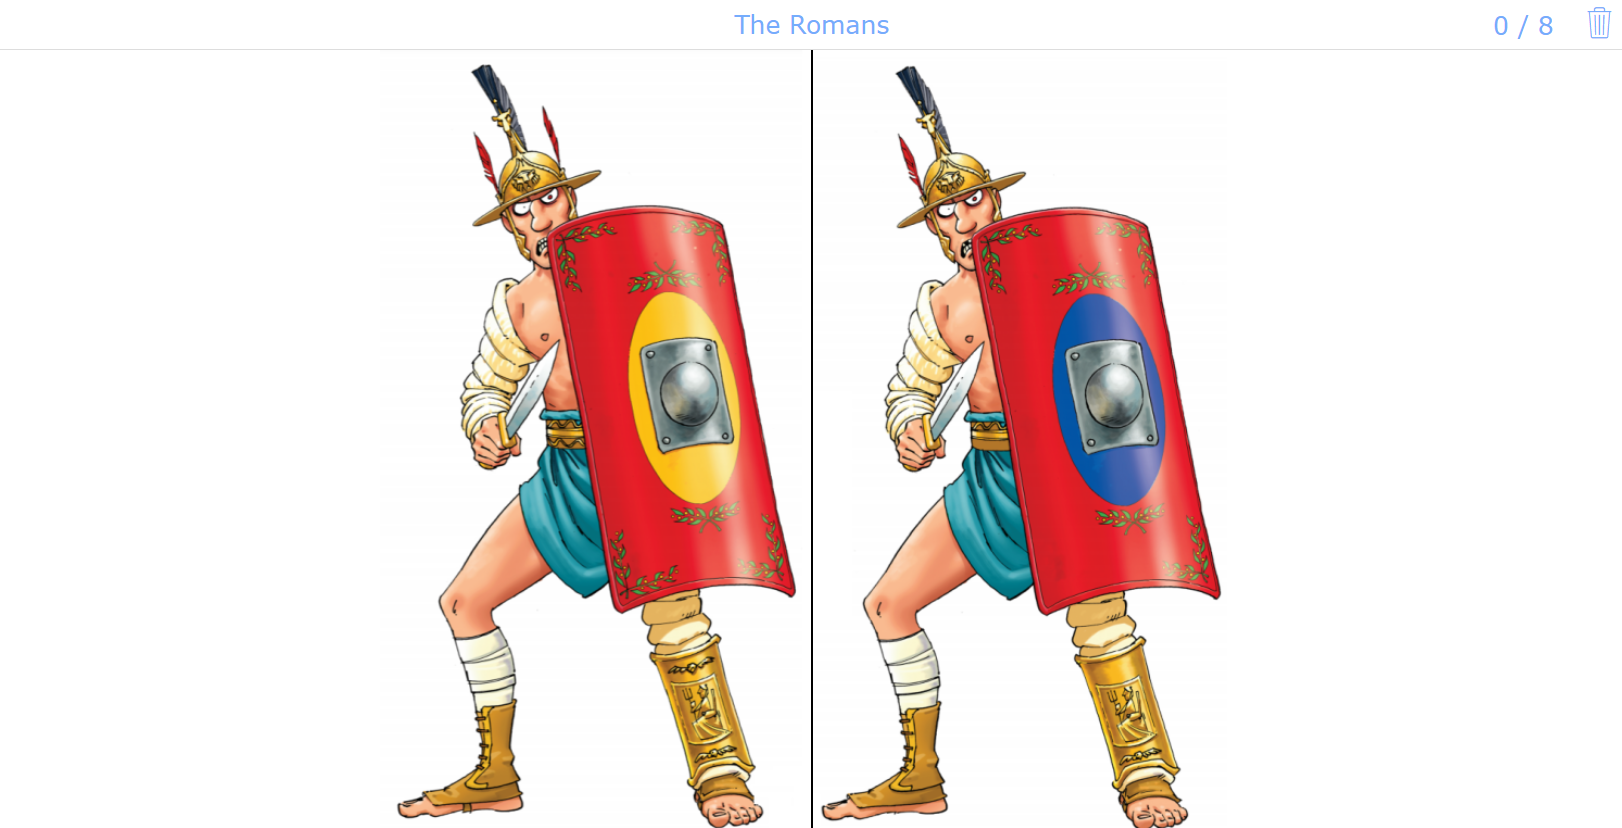
9. Introduce a new lesson topic
Even for history, you can use our spot the difference activity. Use this spot the difference activity as a quick lesson starter about the Romans. Once they have found all the differences, you can begin your class (discussion, lecture, …) about this topic.
This widget was created by Jolijn Goedgebuer
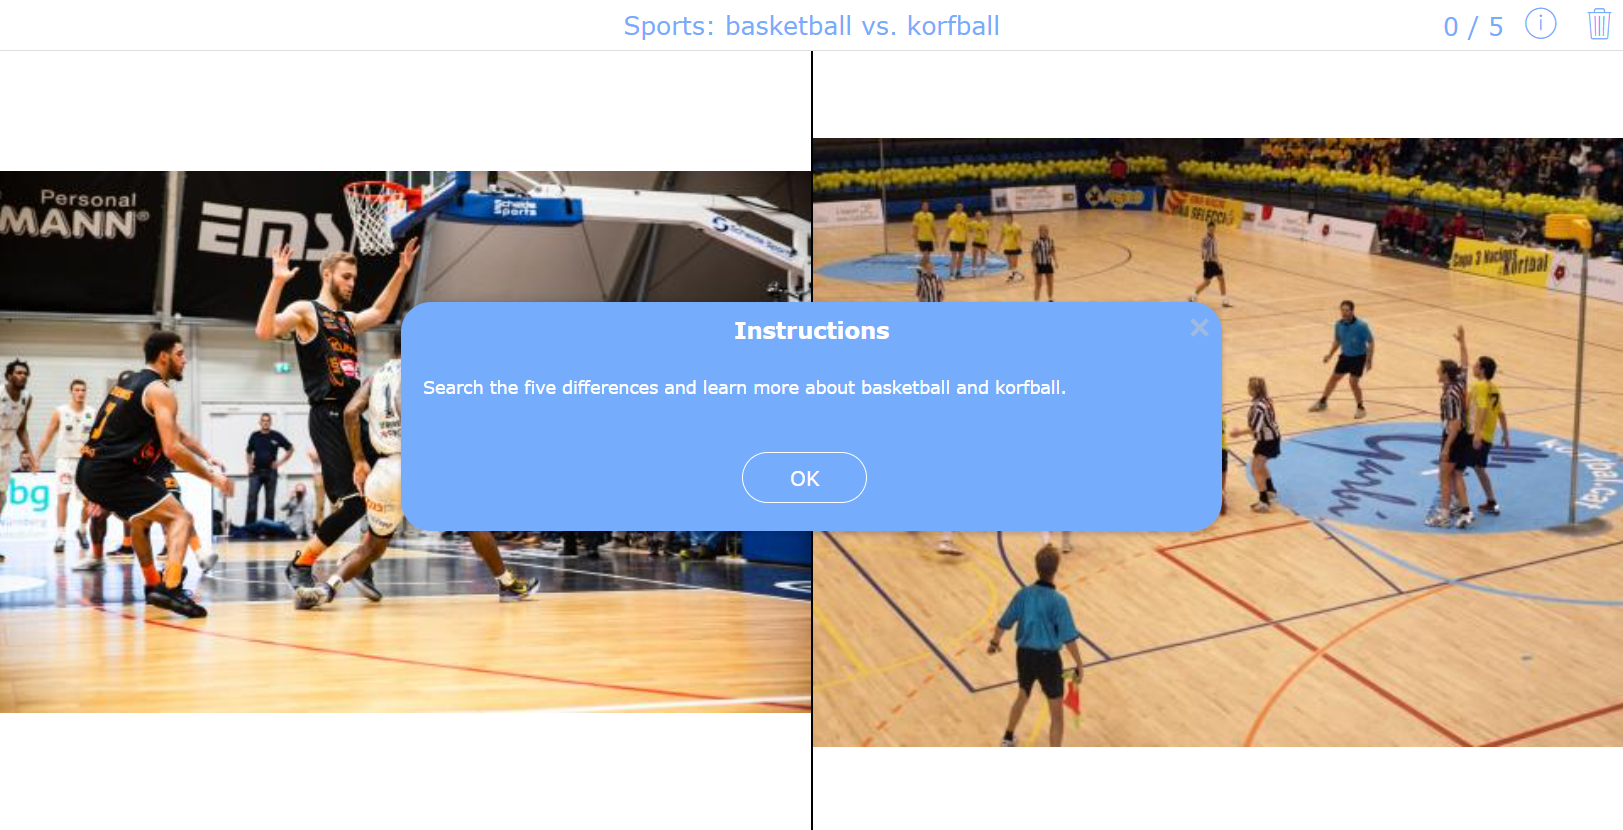
10. Compare two sports
Are you looking for a way to explain the differences between some sports? Then, this widget is for you. Make use of this widget about basketball vs. korfball (a Dutch sport which combines netball and basketball). The students will learn the differences and you can ask their opinion. You can make this widget with every sport you want to compare.
How to create a spot the difference widget?
Are you ready to create spot the difference exercises yourself? Here we go! Make sure to create a BookWidgets account if you’re new so you can start making widgets. You can create an account at BookWidgets.com. Already have an account? Or did you just create one? Then, there is nothing that will stop you from creating your spot the difference widgets.
Go ahead and follow the next steps 👇
1. Choose the “Spot The Difference” widget
 Click on “Create new widget”. The widgets are divided into categories, you can find the “Spot The Difference” widget under the game category. You can give your widget a name so that students know the topic of your class. It’s not only helpful for your students but also for you. With the right name, you’ll be able to find your widget faster.
2. The different configuration tabs
 There are three tabs that you’ll need to use to create a spot the difference widget. I will give you more instructions of each tab now.
About: In this tab, you can write down a description of your widget. Keep in mind that your students won’t be able to read this description, it’s only visible to you.
General: When you open this tab, you’ll see many options to personalize your widget. You can add a title, 2 pictures, a reward word, and an instruction. When you click on “Add difference” you can add your first difference on the images you’ve uploaded. You can write something in the popup text boxes as well. Click again on “Add difference” to create your next difference. 💡 Here’s a pro tip: Make sure to start at the top of the General tab and go your way down. This will make sure you’re not forgetting anything!
Design: In 98% of all cases, you don’t need to put in any information. So, as a beginner, you can skip this one. Just for your information: in this tab, you can add a cover image for your widget which will only show while the activity is loading. You can also change the orientation of your widget here.
3. Design of your widget
 When you click on “Preview” in the upper right corner, you can see what your widget looks like right now. This is the way your students will see your widget.
💡 Hint: Click on “Design” and you can customize your design exactly how you want.
4. Share your widget
 Share your widget with your students, you can do this by clicking “Share”. In the box that opens you will find an overview of all the ways to share your widget. If BookWidgets is integrated in your LMS, make sure to share it through your LMS and not via the link.
Conclusion
After reading the information and all these different ideas, you can start creating your own spot the difference widgets. What’s your favorite lesson idea? Let us know on Twitter! Did you make another kind of spot the difference widget? Make sure to share them in our Facebook Group so you can inspire other teachers as well!
Let’s help each other! 👩🏫👨🏫


