How to create automatically graded assignments in Microsoft Teams for Education
 Lucie Renard —
With BookWidgets, you can create interactive exercises and automatically graded assignments. Even better is that you can now do this right from within Microsoft Teams for Education: create an automatically graded BookWidgets activity, share it with your students, give feedback, and return the student work, …, all from without leaving Microsoft Teams for Education!
In this blog post, I’ll show you exactly, step-by-step, how you can create fun and interactive digital assignments for students in Microsoft Teams for Education. You will find out:
- How to create an interactive assignment with BookWidgets from within Microsoft Teams for Education
- How to share the assignment with your students via your Teams channel
- How your students can submit their completed interactive assignment back to you
- How you can review submitted work, review the automatic grades given by BookWidgets, and give feedback on individual parts of your activity
- How your students can receive and open your feedback
Want to see how this looks like first? Have a look at the following video walking you through the entire process:
Let’s go over all the steps, one-by-one, so you can create and share digital assignments with your students in Microsoft Teams for Education.
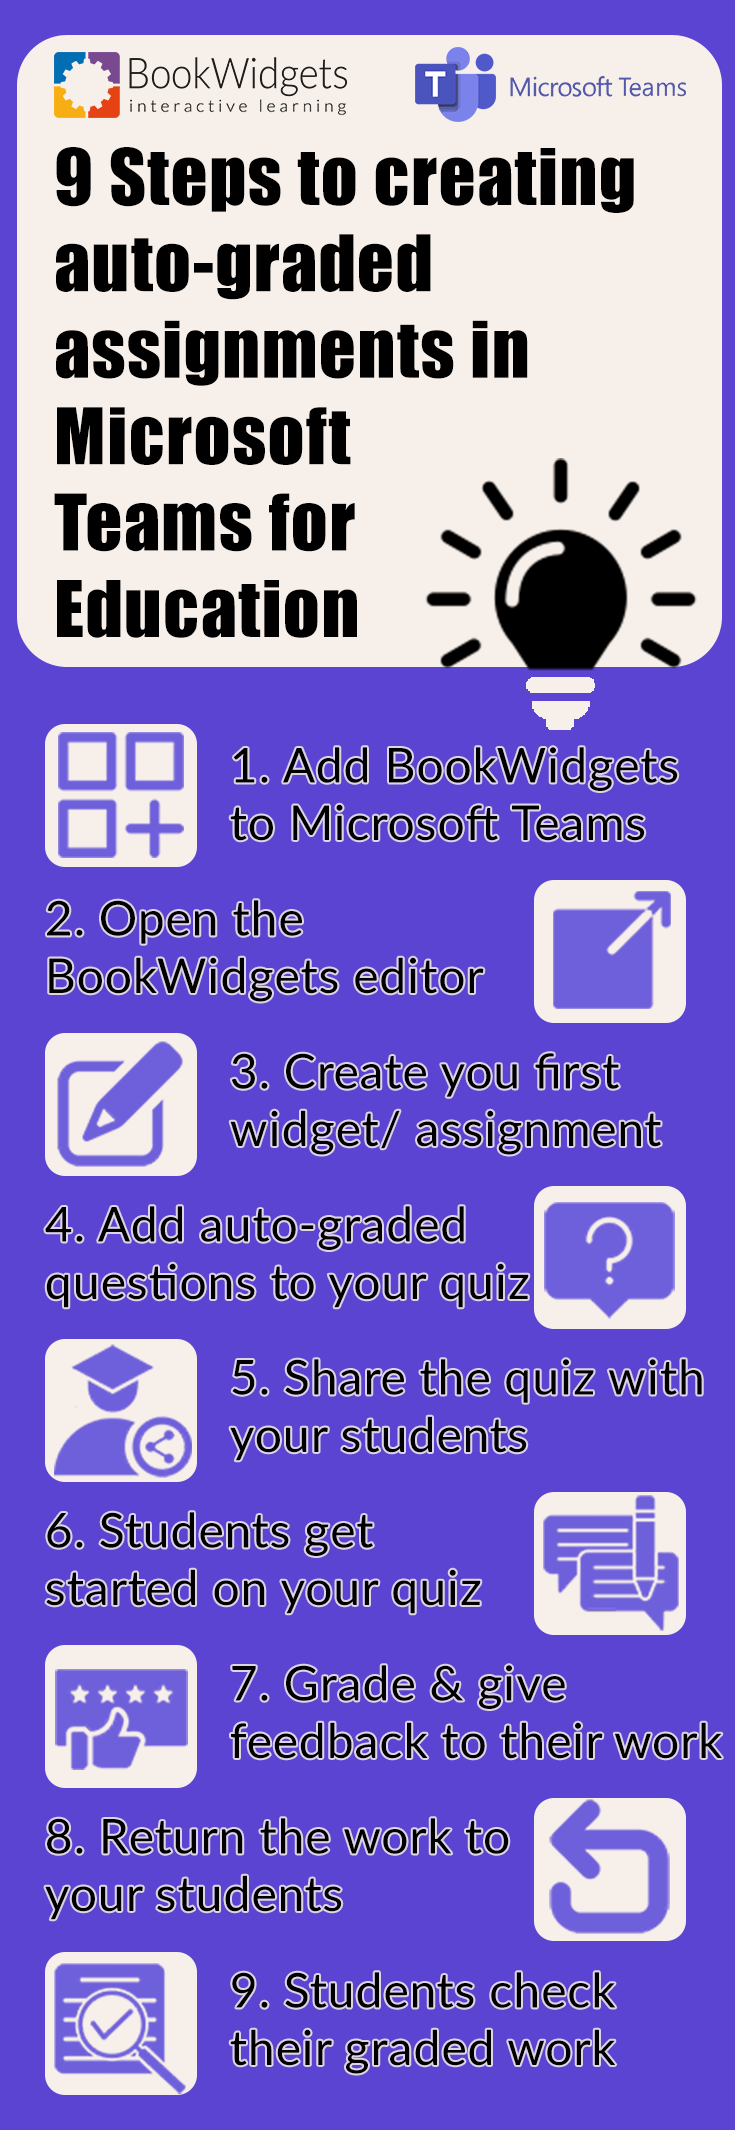
9 Steps to adding auto-graded exercises to Microsoft Teams for Education
Step 1: Add Bookwidgets to Microsoft Teams for Education

Start by installing the BookWidgets integration by clicking this link
Alternatively, you can go to the Microsoft Office App store in your Teams account. You can find it on the left bottom by clicking on “apps”. Now look for “BookWidgets” and click on “add to team”. It will be available for all the teachers in your entire team.
Once that’s done, you’re ready for the next step.
Step 2: Open the BookWidgets editor in Microsoft Teams for Education
 To open the BookWidgets editor, select a course first. This has to be the course in which you want to share the BookWidgets assignment. If your Teams admin did it right, you can now see a BookWidgets tab at the top of your screen. Just click on it.
The BookWidgets app will open.
If you don’t have a BookWidgets account yet, you can quickly sign up here.
Already have a BookWidgets account? Simply go to bookwidgets.com and go to the bottom of your account page and choose “Link to Microsoft account”.
Step 3: Create your first widget
 In BookWidgets, we call all the interactive exercises “widgets”.
These are digital exercise templates you fill in with your content. Click on
“Create new widget”. You’re now in the “widget library”. Choose what kind
of exercise/widget you want to create, and start adding your lesson content to
the widget template.
In BookWidgets, we call all the interactive exercises “widgets”.
These are digital exercise templates you fill in with your content. Click on
“Create new widget”. You’re now in the “widget library”. Choose what kind
of exercise/widget you want to create, and start adding your lesson content to
the widget template.
Tip! If you want to add automatically graded questions to your assignment, you should go for a quiz, worksheet, or split- worksheet widget. Here, you can choose between 30+ interactive question types.
Step 4: Add auto-graded questions to your quiz
 Let’s choose a quiz widget for our assignment. In this widget, we can
add questions from a selection of different types, many out of which are
automatically graded.
Let’s choose a quiz widget for our assignment. In this widget, we can
add questions from a selection of different types, many out of which are
automatically graded.
Tip! Check out this complete video guide of all the BookWidgets question formats. Here, I show you, step-by-step, what you have to do to add a question to your quiz, worksheet, or split worksheet.
Add your questions, click on “Preview” to see how this looks like for your students, go back and configure extra settings in the Title/reporting tab, and check out the General tab with the Correction options as well.
Step 5: Share the quiz with your students
 When you added your questions and set your desired options, your
quiz is ready! Now, all you have to do is click on the Share button and
choose a course in Microsoft Teams to send your assignment to.
Don’t forget to click on “Create Microsoft Teams Assignment” to confirm
your choice.
When you added your questions and set your desired options, your
quiz is ready! Now, all you have to do is click on the Share button and
choose a course in Microsoft Teams to send your assignment to.
Don’t forget to click on “Create Microsoft Teams Assignment” to confirm
your choice.
Your quiz will now be added to that course, and students will be able to open it.
Step 6: Students get started on your quiz
 So, how do students get started on your quiz? Easy! They go to
“Teams” (or Assignments) and click on the right course. They will see that
the teacher added a new assignment to the course’s stream. They can also click
on the “Assignments” tab at the top of their course.
So, how do students get started on your quiz? Easy! They go to
“Teams” (or Assignments) and click on the right course. They will see that
the teacher added a new assignment to the course’s stream. They can also click
on the “Assignments” tab at the top of their course.
Now, students click on “View assignment”, click on click on the link with the title of the assignment, and the assignment will open and they can start answering the questions in your BookWidgets quiz.
Step 7: Grade and give feedback on student work
 Ever thought grading could be fun? When you open your students’
submitted work, it’s already graded! Of course, you should still take a look at
their work. You can overwrite the automatic scores if a score doesn’t match
what you want it to be, and you can add constructive feedback beneath your
student’s answers.
Ever thought grading could be fun? When you open your students’
submitted work, it’s already graded! Of course, you should still take a look at
their work. You can overwrite the automatic scores if a score doesn’t match
what you want it to be, and you can add constructive feedback beneath your
student’s answers.
To review submitted work, click on “Assignments” or click on “View assignment” in your course stream. You’ll see all your students there, and you’ll see whether they have handed in the assignment already or not. You can also see that a grade has already been prepared for the assignment.
Click on a student to see their work, and open the “Submission”. Add comments below the questions or change the grades if necessary. If you’ve used questions that aren’t auto-graded, you can give grades now by adding them to the question.
Step 8: Return the student work
 When you finished grading, go back to Microsoft Teams, and click on
“Return”, so the student can see the correct answers and mistakes, together with the
grades and your feedback.
When you finished grading, go back to Microsoft Teams, and click on
“Return”, so the student can see the correct answers and mistakes, together with the
grades and your feedback.
Go to Grades, and you’ll see that the grades are immediately added to the Microsoft Teams’ grade book.
Step 9: Students check their graded submission
 In the final step, students check their graded assignments. In the
course’s stream, they click on “View assignment”, where they can see the
points on their submission. To see the complete assignment along with the
correction and teacher feedback, they have to click on their “Submission”.
A new tab opens with all the details of the corrected assignment.
In the final step, students check their graded assignments. In the
course’s stream, they click on “View assignment”, where they can see the
points on their submission. To see the complete assignment along with the
correction and teacher feedback, they have to click on their “Submission”.
A new tab opens with all the details of the corrected assignment.
Wrap up
Looks pretty handy, right? If you want to go over this, step-by-step, you can also take a look at this detailed tutorial of using BookWidgets in Microsoft Teams or check out this webinar recording! Now it’s up to you!